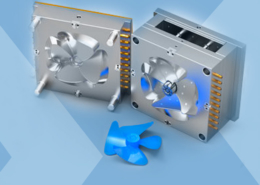
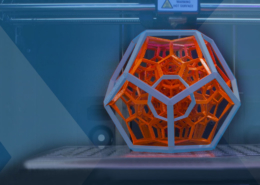
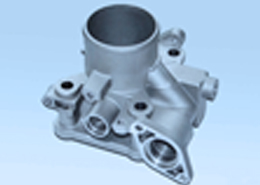
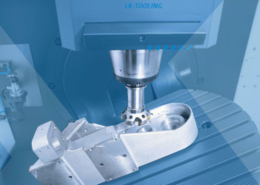
INJECTION MOULDING
Injection moulding parts and injection tools. Full solutions from design to production.
The Cost of Injection Molding Materials - plastic injection molding price
Author:gly Date: 2024-10-15
Solution: Create a sharp transition between the first and second shot materials in the shut-off areas. To accomplish this, incorporate a step or accent grove into your design:
Our team at HLH Prototypes can help! Tell us about your project, and we’ll provide a free review to help you make an informed decision. Don’t worry; we have the most trusted manufacturing technologies like 3D printing, CNC machining, vacuum casting, and injection to make any plastic prototype.
CNC machining can be significantly cheap, too, even for building functional plastic parts. Injection molding and vacuum casting may be a bit costlier than those two options because it involves making a custom mold but can be cost-effective if you need to make a low volume of virtually identical plastic parts for prototyping.
No matter your industry, reliable prototyping is a critical component of successful product development. Plastic is an excellent choice for building aesthetic and functional models, as it can save you time and money. Today, rapid prototyping has made plastic prototype manufacturing simpler and more cost-effective, thanks to newer technologies like 3D printing, injection molding, vacuum casting, and CNC machining. The manufacturing method you choose will depend on your product’s form, cost, volume, application, and material.

Plastic is low-cost, versatile, and comes in different types and grades. As such, you can pick a type of plastic that stimulates the properties and features of your product in its end-use stage. It’s also easier and faster to test and verify your design as a plastic prototype and make corrections and improvements when necessary until you’re confident of its integrity, safety, and efficacy before you go into end-use production.
As discussed in our Two-Shot Injection Molding Design Guide, the type of gate, its design, and location must be carefully considered to achieve the ideal cosmetic appearance and dimensions of your part. In single-shot injection molding, the gate is typically located so that the melt enters at the thickest part of the cavity and then flows to the narrower areas. Its placement in two-shot isn’t as straightforward.
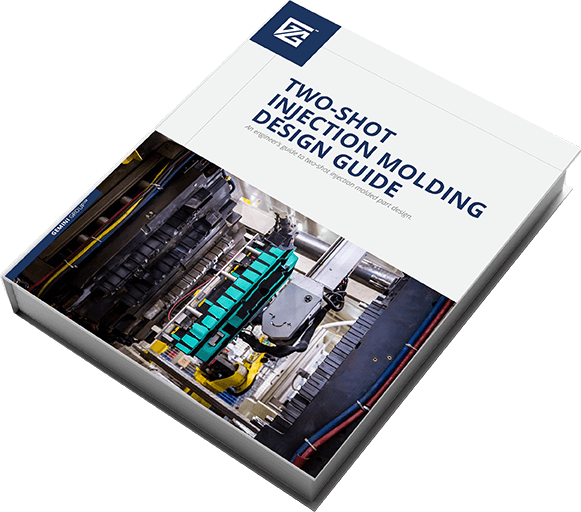
Two-shot design can deliver a competitive advantage far above other molding processes, especially for complex parts. Learn the benefits of the process and explore the special design requirements needed to make it work in this free guide created by engineers, for engineers.
Like most plastics manufacturing processes, injection molding has its share of problems and solutions. Same goes for two-shot injection molding — and there’s even more complexity. The key areas to consider when troubleshooting injection molding defects are captured in our Two-Shot Injection Molding Design Guide. Be sure to download your copy today. In the meantime, here are some common two-shot molding defects – and how to avoid them.
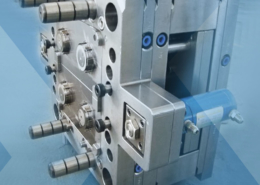
Two-shot injection molding defects often occur in the shut-off areas where the second shot mold seals against the first shot, or the substrate.
The cost of plastic prototyping can depend on several factors, like the number of parts you need and the manufacturing technique. 3D printing is generally the most cost-effective choice, especially for one or a small volume of parts that you need as fast as possible. It may even reduce your product development timeline by allowing you to quickly iterate your design and modify or test the design.
Please place file(s) for transfer in the same folder and ZIP or RAR before attaching. Larger attachments can take a few minutes to transfer depending on your local internet speed :) For attachments over 20MB, click WeTransfer and send to info@HLHPrototypes.com.
Incorporate an accent groove, 1.5 mm – 2.0 mm deep and 0.8mm – 1.0mm wide, in the first shot profile along the edge of the second-shot.
Solution: The solution to the first-shot vestige is quite simple – position it so that the second shot material covers it! The second-shot vestige, however, will require additional processing after the mold cycle. The only way around the vestige all together is to use a hot tip gate, depending on the part design.
If the two materials are somewhat compatible and you simply need to increase the strength of the bond, try maximizing the surface area in the transition zone.
Cause: Usually a poor seal between the first shot and the second shot mold. Or, the material is too thin in the shut-off area.
Cause: Unfortunately, all tab gates produce this defect, known as vestige, on the surface of the part. They’re somewhat of a necessary evil.
As for any engineered plastic part, material selection is paramount. Typical considerations include mechanical and physical properties, , heat, electrical, flammability and chemical and UV resistance. For two-shot, if we’re to avoid defects, we must take it a step further and consider the compatibility between the first shot and second shot material.
LK-Mould Ltd.,
No.15, JinShen Road, Jin xia District
Changan Town, Dongguan
523850 Guangdong
China